
The spinner rig is one of the most effective and versatile carp rigs ever created. It’s known for its aggressive hook turning and flexibility in presentation. Whether you’re fishing with wafters or pop-ups, this rig offers excellent hooking potential, especially on pressured waters.
What You’ll Need to Tie the Spinner Rig
Before we get into the steps, gather the following items:
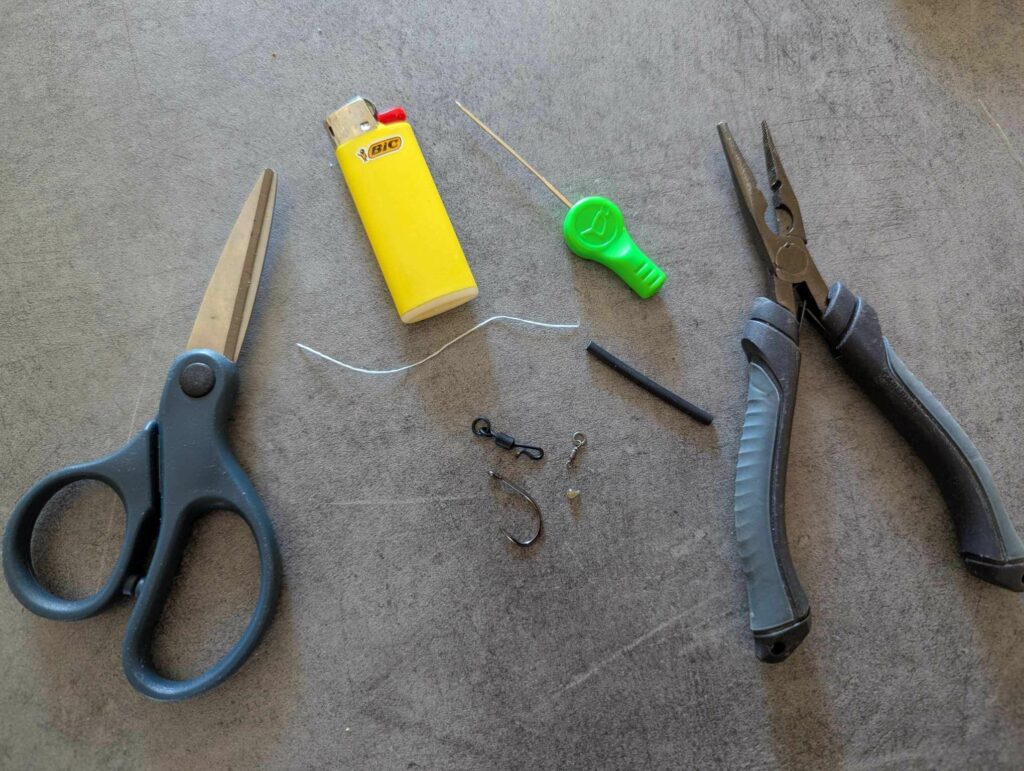
- Size 4 or 6 carp hook
- Spinner swivels or quick-change ring swivels
- Hook beads
- Heat-shrink tubing (or pre-formed kickers)
- Fluorocarbon
- Micro swivel for bait attachment
- Dental floss
- Lighter
- Scissors and a pair of pliers
Optional:
- Tungsten putty for balancing pop-ups
Step-by-Step: How to Tie the Spinner Rig
Step 1: Attach the Hook to the Spinner Swivel
Use your pliers to gently open the arm of the quick-change swivel. This creates enough space to slide in the loop of your hook.
Fishing Pliers With Line Cutter -> https://amzn.to/4k1K2lG
Take your hook and thread the spinner swivel through the eye of the hook. The swivel should sit on the bend of the hook, allowing full rotation. Make sure you’ve already slid a small piece of shrink tube onto the hookl and up to the hook eye.
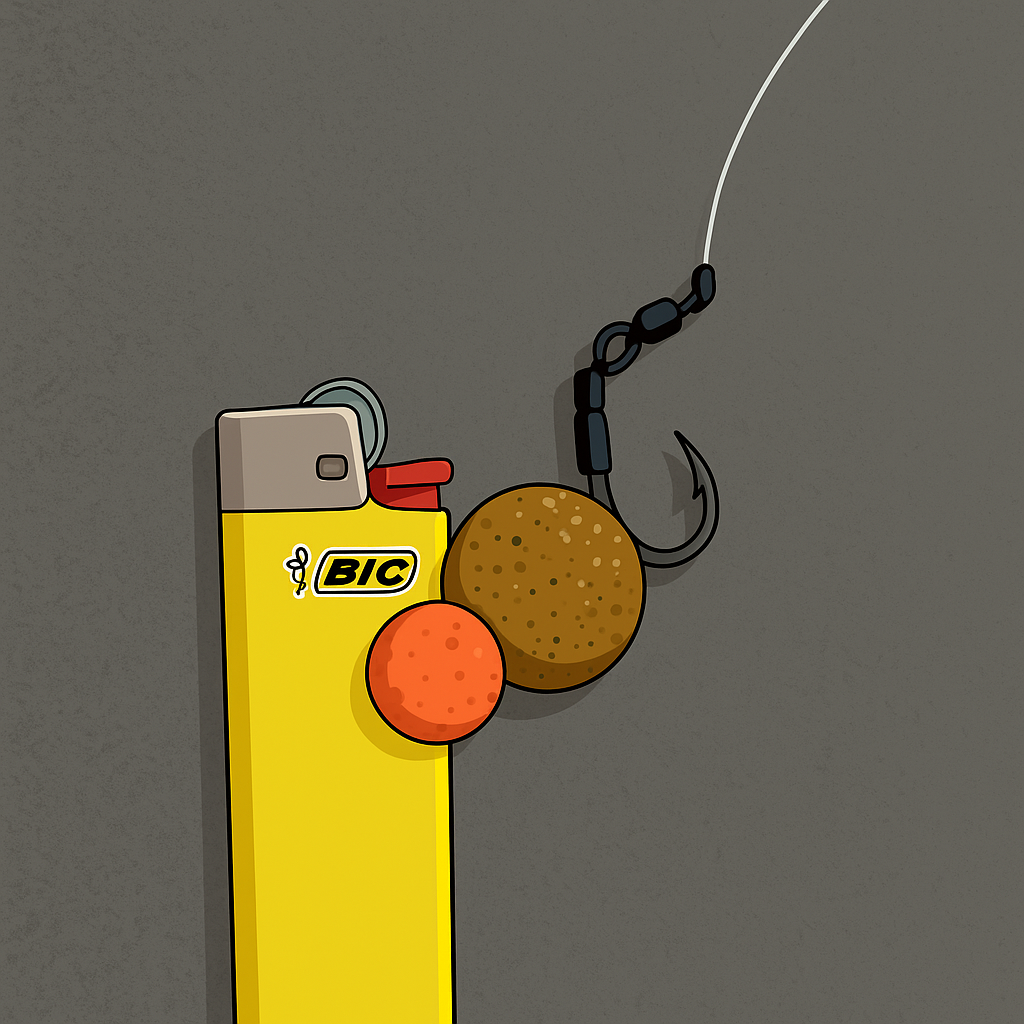
Pay close attention to the direction of the hook — it’s very important for the rig’s effectiveness. Check the illustration provided to make sure your hook is oriented correctly.
Once the loop is placed into the quick-change swivel, slide the shrink tube down to cover the connection point. Later, you’ll shrink it with your lighter to make it neat and secure.
Make sure to angle the shrink tube slightly to give the hook a more aggressive turning action — refer to the photo for the correct angle.
Step 2: Add the Micro Swivel
Slide the micro swivel and lock it with a hook bead onto the hook shank to lock the swivel in place. The ideal position is opposite the hook point or slightly further down.
Step 3: Slide on the Heat-Shrink Tubing
Cut a 2 cm piece of shrink tubing and slide it over the hook eye, covering the spinner swivel. This will secure the swivel and force the hook into an aggressive angle.
Use a lighter to shrink the tubing — apply heat evenly while holding the hook with pliers. Angle the shrink tube to give the hook a strong, inward-turning action.
Step 4: Attach the Bait to the Micro Swivel Using Dental Floss
Take a piece of unwaxed dental floss — about 10 to 15 cm long — and thread it through the eye of the micro swivel.
Then, pass both ends of the floss through your bait (usually a pop-up or wafter), using a baiting needle if necessary.
Once the bait is in place, tie a few tight knots with the dental floss to secure it. Trim the excess and burn the tips slightly to prevent fraying.
💡 Pro Tip: This method allows you to easily switch baits or adjust presentation. The bait should sit close to the hook but move freely to increase hooking potential.
Step 5: Test the Rig
Test the rig in a bowl or at the bank before casting. The hook should spin aggressively with minimal movement, and the bait should sit just above the bottom if using a pop-up.
Add tungsten putty to the hooklink or below the bait screw to fine-tune the presentation.
Why Use the Spinner Rig?
- It’s fast to tie and easy to modify
- The hook can be changed without retying the entire rig
- It works well with pop-ups, wafters, and snowman setups
- Extremely effective on pressured carp due to the aggressive turning
Once you know how to tie the spinner rig, it’ll become one of your go-to choices for carp fishing across Europe.
Tight lines!