
Setting up your carp rig properly is essential for success — and luckily, it’s easier than it looks. In this guide, we’ll break down how to set up a carp rig with lead and hooklink using simple steps that beginners can follow. This rig is perfect for still waters and rivers across Europe and helps you present your bait effectively.
What You’ll Need to Set Up a Carp Rig
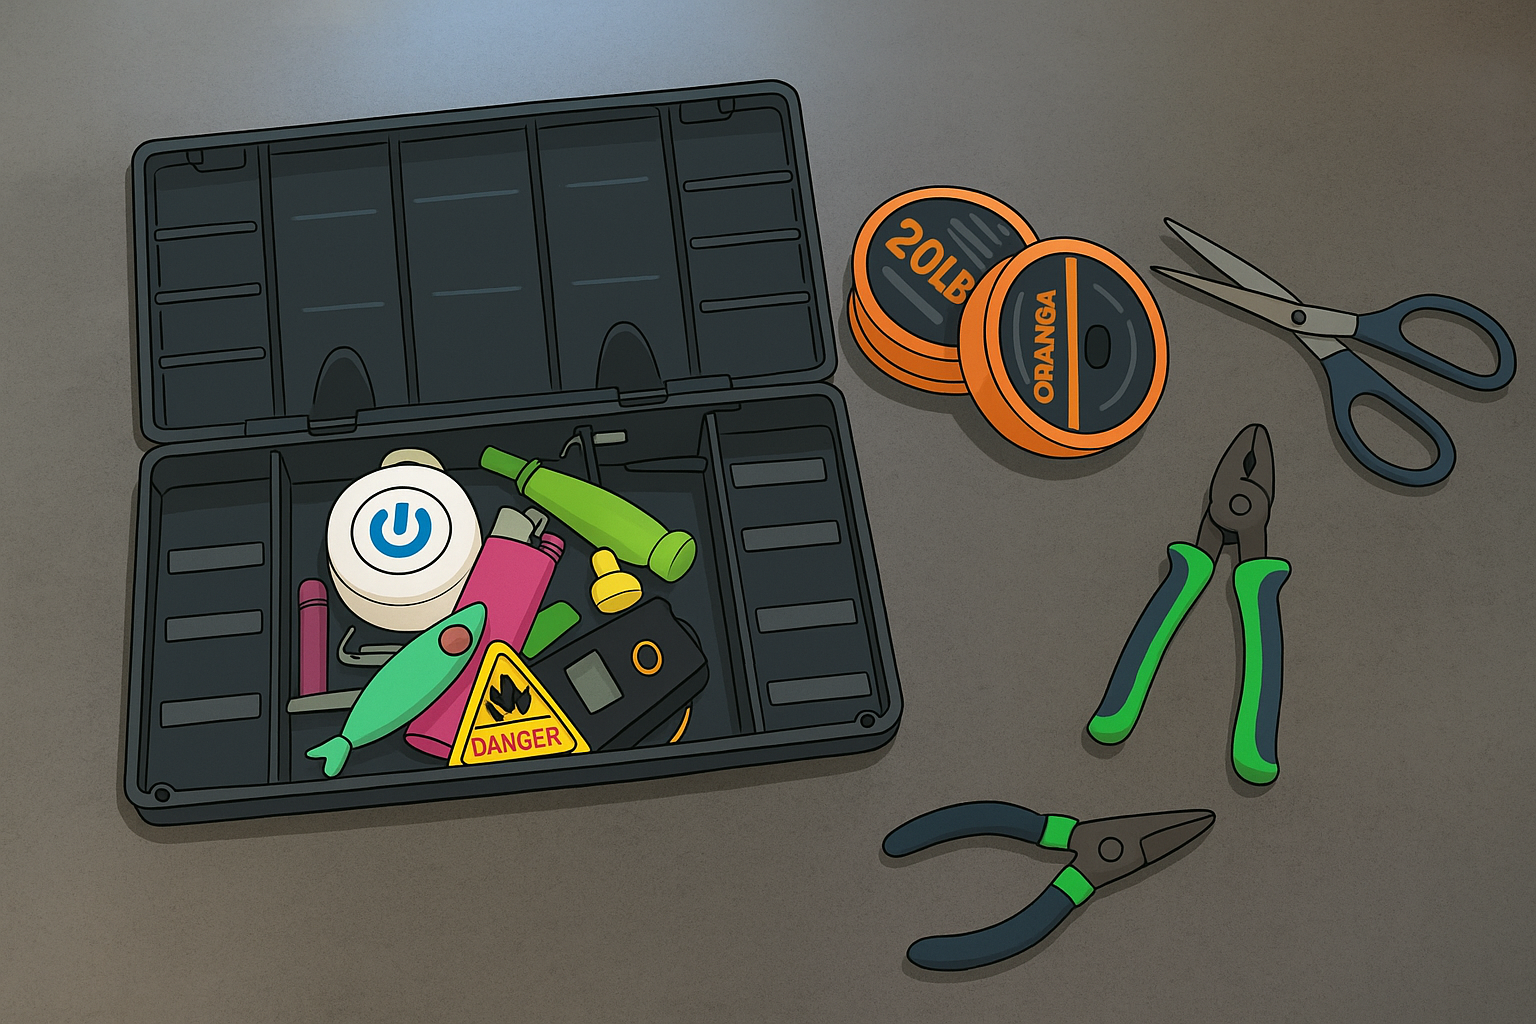
Before we begin, make sure you have the following equipment:
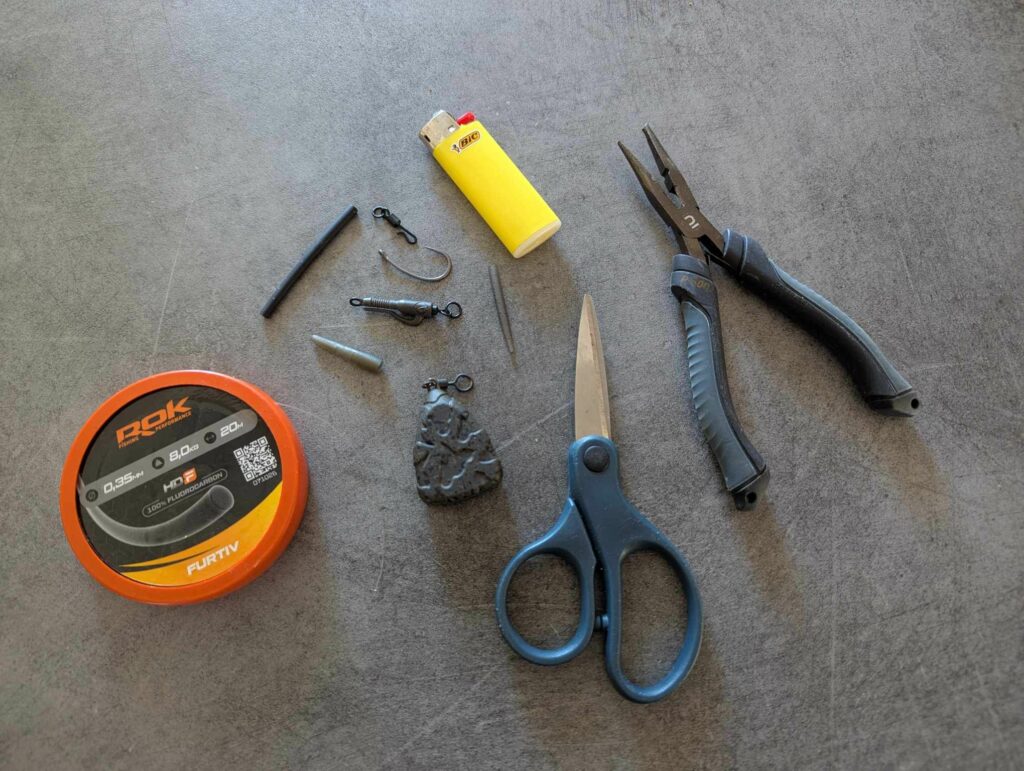
- Lead (inline or swivel)
- Lead clip system (if using swivel leads)
- Anti-tangle sleeve
- Fluorocarbon line: 0.35mm for lakes/ponds, 0.45mm for rivers
- Size 4 to 8 carp hook
- Quick-change swivel
- Scissors and a pair of pliers
- Heat-shrink tubing (shrink tube)
- Lighter
Step-by-Step: How to Set Up a Carp Rig with Lead and Hooklink
Step 1: Prepare the Hooklink
Cut about 30–35 cm of flurocarbon line.
Tie the hooklink to the lead clip system using a Knotless Knot.
Korda Basix Baiting Needle -> https://amzn.to/43n9riG
- If you’re using a lead clip system:
- Push the swivel into the clip.
- Add your lead.
- Secure the clip with the tail rubber.
- For inline leads:
- Thread the mainline through the lead.
- Tie it directly to the swivel attached to your hooklink.
Step 2: Add the Quick-change swivel
Tie the other end of the hooklink to a swivel using a Tie the hooklink to the quick-change swivel using a Knotless Knot too.
- Slide an anti-tangle sleeve over the knot (on the lead clip) for a clean finish.
Then, use your pliers to gently open the arm of the quick-change swivel. This creates enough space to slide in the loop of your hook.
Fishing Pliers With Line Cutter -> https://amzn.to/4k1K2lG
Make sure you’ve already slid a small piece of shrink tube onto the hookl and up to the hook eye.
Step 3: Add the Hook
⚠️ Pay close attention to the direction of the hook — it’s very important for the rig’s effectiveness. Check the illustration provided to make sure your hook is oriented correctly.
Once the loop is placed into the quick-change swivel, slide the shrink tube down to cover the connection point. Later, you’ll shrink it with your lighter to make it neat and secure.
Make sure to angle the shrink tube slightly to give the hook a more aggressive turning action — refer to the photo for the correct angle.
Variant without using a knot
You can attach the leader to the lead clip system and quick-change swivel with the Korda Krimps Pliers.
I really like this way of doing things, it’s safe, fast, and the bottom lines are super clean.
Korda Mini Krimp Tool -> https://amzn.to/4dnVDsJ
Bonus Tips
- Always check your hook sharpness before casting.
- Match your rig length and weight to the lakebed type.
- Consider a spinner rig
- The way this rig is presented allows you to quickly change the hook without retying the entire rig — perfect for fast adjustments on the bank.
Setting up a carp rig doesn’t need to be complicated. By learning how to set up a carp rig with lead and hooklink, you’ll be well on your way to catching your first carp — or landing more of them.
Ready to build your rig? I’ve included a visual step-by-step guide to help you below!
➡️ How to Tie the Spinner Rig — Step-by-Step Guide
Tight lines!